This guide is no longer being updated.
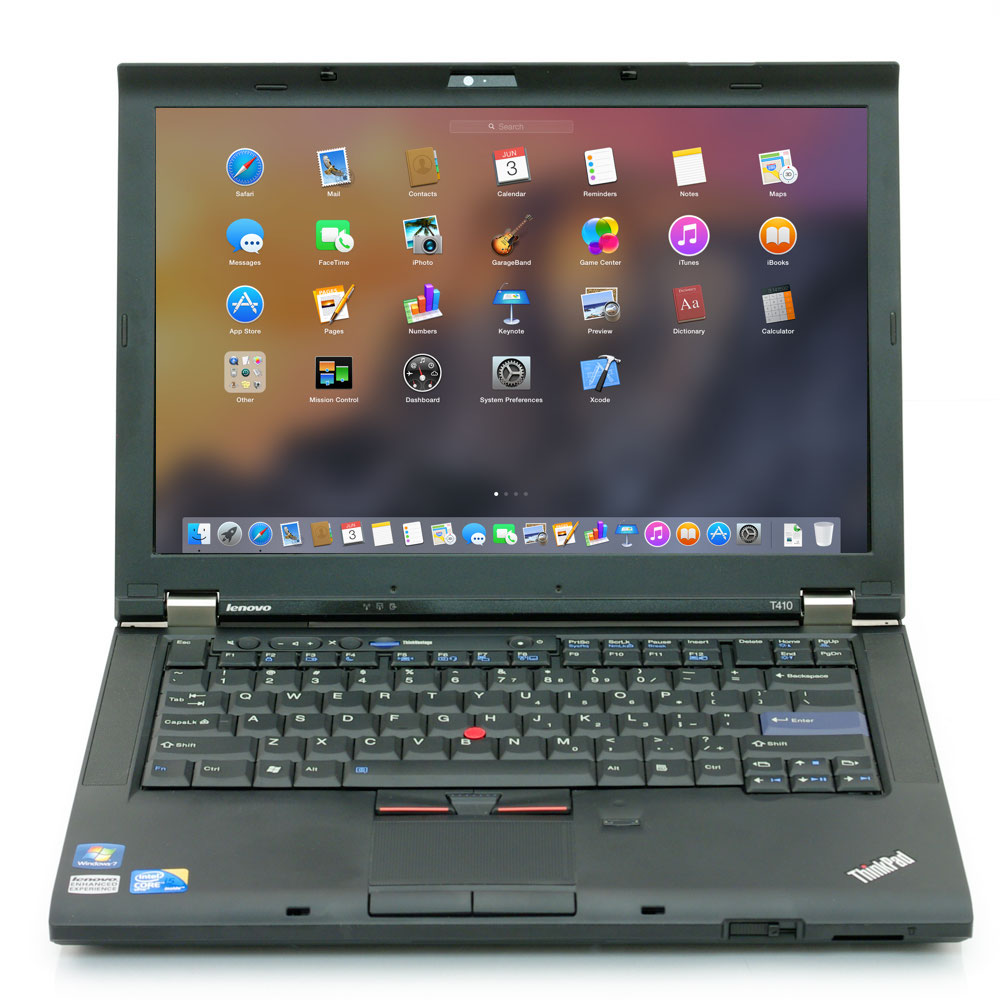
THINKPAD T410 OS X 10.10 YOSEMITE INSTALLATION GUIDE
Follow these steps to install OS X 10.10 Yosemite on your ThinkPad T410.
This guide is specific to units with Nvidia graphics. If you have Intel integrated graphics see the guide here for additional information. (Note: the T410 has an LVDS display connector)
Please use the contact form below if you find anything that isn’t accurate.
BIOS SETUP
- Update the BIOS with the official Lenovo BIOS version 1.45 available here
- Optional: Install the patched BIOS version 1.45 to remove the whitelist check and permit the installation of an OS X compatible half-height Mini PCIe wifi card such as the Dell DW1515 or Dell DW1510 (be sure to follow the instructions included with the patched BIOS)
- Adjust the settings in the BIOS:
– Press F9 to Load Setup Defaults
– Set Security > Security Chip > Disabled
– Press F10 to Save and Exit
CREATE USB INSTALLER
- Download OS X Yosemite from the App Store
- Insert an 8GB or larger USB drive
- Open /Applications/Utilities/Disk Utility
- Highlight the USB drive in left column
- Click on the Partition tab
- Click Current and choose 1 Partition
- Click Options…
- Choose GUID Partition Table
- Under Name: type USB
- Under Format: choose Mac OS Extended (Journaled)
- Click Apply
- Open /Applications/Utilities/Terminal
- Paste the following command in the Terminal window. This will completely erase the USB, then create a native OS X installer drive from the Install OS X Yosemite Application (this process will take 20-30 minutes).
sudo /Applications/Install\ OS\ X\ Yosemite.app/Contents/Resources/createinstallmedia --volume /Volumes/USB --applicationpath /Applications/Install\ OS\ X\ Yosemite.app --no interaction
- When complete, the USB will be renamed Install OS X Yosemite
- Download the T410 Yosemite Utility and Kext Pack and place a copy on your USB
- Download the latest version of Clover and place a copy of the installer on your USB
- Download the T410 Clover USB Pack
- Launch the Clover installer
- Select your Install OS X Yosemite USB as the Install Location…
- Click Customize and install Clover to the USB with the following Custom Install options:
– Bootloader > Install boot0af in MBR
– CloverEFI > CloverEFI 64-bits SATA
– Drivers64UEFI > EmuVariableUefi-64
– Drivers64UEFI > OsxAptioFixDrv-64
– Drivers64UEFI > PartitionDxe-64 - Navigate to /EFI/CLOVER/ and replace the existing config.plist with the config.plist in the Clover USB Pack
- Navigate to /EFI/CLOVER/kexts/10.10/ and add FakeSMC.kext, AppleIntelE1000e.kext,VoodooPS2Controller.kext and NullCPUPowerManagement.kext from the Clover USB Pack
- Navigate to /EFI/CLOVER/drivers64UEFI/ remove VBoxHfs-64.efi and add HFSPlus.efi from the Clover USB Pack
Install OS X Yosemite
- Turn on the computer and press F12 to choose the USB as your boot device
- At the Clover boot screen, choose Boot OS X Install from OS X Install OS X Yosemite (The boot process will be slow)
- At the OS X Installer screen select Utilities > Disk Utility…
- Select your target drive and click the Partition tab
- Under Partition Layout, select 1 Partition
- Name the partition Macintosh HD and format it as Mac OS X Extended (Journaled)
- Click the Options… button and select GUID Partition Table
- Click the Apply button and quit Disk Utility when it is finished
- Continue with a standard OS X installation on your target drive (the process will appear to hang at times during the installation)
- Upon completion of the first stage the system will restart
- Press F12 to again choose the USB as your boot device
- At the Clover boot screen, again choose Boot OS X Install from OS X Install OS X Yosemite
The system will now create the recovery partition, complete the installation and restart for a second time. - Press F12 to again choose the USB as your boot device
- At the Clover boot screen, choose Macintosh HD to continue booting
- Complete the guided OS X setup
Post Installation
- Go to System Preferences > Bluetooth > Advanced… and uncheck both Open Bluetooth Setup Assistant options (this prevents an issue with these assistants popping up despite the functioning internal keyboard and trackpad)
- Go to System Preferences > Security & Privacy and select Allow apps downloaded from: Anywhere
- Open /Applications/Utilities/Terminal
- Type: diskutil list and locate the name of your installation drive’s EFI partition. It will be under the IDENTIFIER column. The name will probably be disk0s1
- Paste the following command in the Terminal window to reformat the EFI partition as FAT32 (modify the command if necessary for your EFI partition’s name identified in the previous step)
sudo newfs_msdos -v EFI -F 32 /dev/rdisk0s1 - Launch the Clover installer
- Select Macintosh HD as the Install Location…
- Click Customize and install Clover with the following Custom Install options:
– Install Clover in the ESP
– Bootloader > Install boot0ss in MBR
– CloverEFI > CloverEFI 64-bits BiosBlockIO
– Themes (all)
– Drivers64 (all)
– Install RC scripts on target volume - Move config.plist from the Utility and Kext Pack to /EFI/CLOVER/ (replace the existing file)
- Move DSDT.aml from the Utility and Kext Pack to /EFI/CLOVER/ACPI/patched/
- Launch the Kext Utility app and drag all of the kexts from the Utility and Kext pack to the Kext Utility window to install them
- Eject the installation USB and restart the computer
- Install any Yosemite system updates available from Apple through Software Update
- It may be necessary to re-install kexts after updating OS X. Simply repeat step 11 if anything doesn’t work correctly after a system update.
Notes / Suggestions
- Keep your installation USB on hand. After installing Mac OS system updates it is sometimes necessary to boot the system with the USB and re-install kexts to get everything working properly again.
- Use Clover Configurator if you need to mount the EFI partition or make modifications to the provided config.plist
- If a kernel panic occurs, boot from the installation USB, select the installation drive, hit the space bar and select Boot Mac OS X in safe mode to successfully boot and make necessary changes.
- Recommended OS X compatible half-height Mini PCIe wifi cards that require no configuration and are automatically recognized as built-in AirPort: Dell DW1515 or Dell DW1510
A good list of additional Mini PCIe wifi cards compatible with OS X is available here - The <ScrLk> key decreases screen brightness, the <Pause> key increases screen brightness
- The <PrtSc> key toggles the touchpad on and off
- If the Bluetooth radio is turned off in Windows it may no longer show up when booting into OS X. Boot back into Windows to turn the Bluetooth radio back on.
- Fan noise can be reduced by changing the BIOS setting under Config > Power > Adaptive Thermal Management to Balanced
Not functioning
- USB ports after resuming from sleep