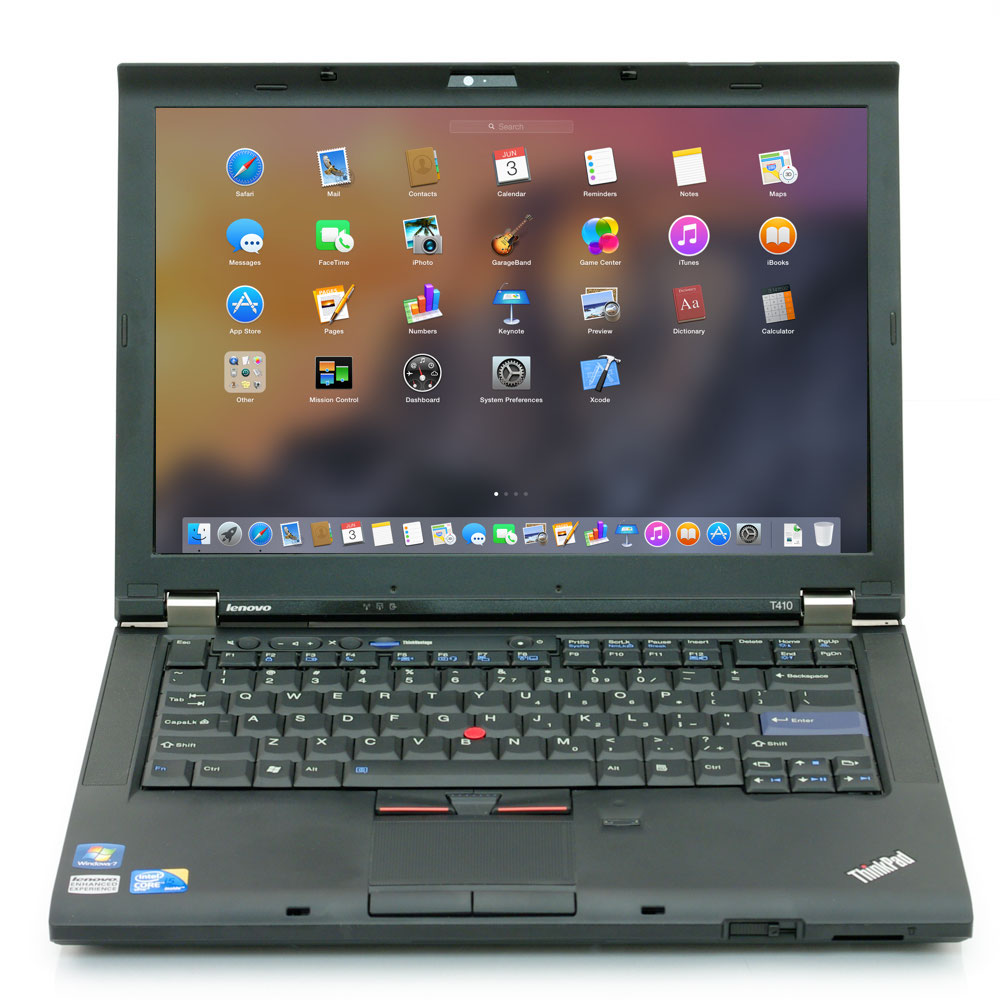
THINKPAD T410 OS X 10.10 YOSEMITE INSTALLATION GUIDE
See our guide here for a better process using the Clover bootloader.
Follow these steps to install OS X 10.10 Yosemite on your ThinkPad T410.
This guide is specific to units with Nvidia graphics. If you have Intel integrated graphics see the guide here for additional information.
BIOS SETUP
- Update the BIOS with the official Lenovo BIOS version 1.45 available here
- Optional: Install the patched BIOS version 1.45 to remove the whitelist check and permit the installation of an OS X compatible half-height Mini PCIe wifi card such as the Dell DW1515 or Dell DW1510 (be sure to follow the instructions included with the patched BIOS)
- Adjust the settings in the BIOS:
– Press F9 to Load Setup Defaults
– Set Security > Security Chip > Disabled
– Press F10 to Save and Exit
OS X INSTALLATION
- Create an installation USB with laptop support using UniBeast by following the guide here
- Download the ThinkPad T410 OS X Yosemite Utility and Kext Pack and the Yosemite version of MultiBeast and place a copy of each on your installation USB
- Insert your installation USB and press F12 at startup to select your USB at the Boot Menu
- At the Chameleon boot menu, select your USB drive and type the following boot flags:
-v GraphicsEnabler=Yes - At the OS X Installer screen select Utilities > Disk Utility…
- Select your target drive and click the Partition tab
- Under Partition Layout, select 1 Partition
- Name the partition Macintosh HD and format it as Mac OS X Extended (Journaled)
- Click the Options… button and select GUID Partition Table
- Click the Apply button and quit Disk Utility
- Continue with a standard OS X installation on your target drive
- After installation, start the computer with the installation USB, select the new installation drive at the Chameleon boot menu and enter the same boot flags:
-v GraphicsEnabler=Yes - Complete the guided OS X setup
- Go to System Preferences > Security & Privacy and select Allow apps downloaded from: Anywhere
- Run MultiBeast and select:
Quick Start > DSDT Free
Build > Install
- Quit MultiBeast when it finishes and launch the Kext Utility app
- Drag all of the kexts from the Utility and Kext pack to the Kext Utility window to install them
- Quit Kext Utility when it finishes and open the folder entitled Extra in the root directory of your installation drive
- Copy (and replace) everything in the Extra folder from the Utility and Kext pack to the Extra folder on your installation drive
- Eject the installation USB and restart the computer
- Install any system updates available through the App Store
- It may be necessary to re-install kexts after updating OS X. Simply repeat step 12 if anything doesn’t work correctly after a system update.
Not working
- Bluetooth
- Battery status in menu bar
- USB ports after resuming from sleep

